Resizing
Getting rid of pixels
Most of your pictures will have a resolution that exceeds what you need. If you do not resize them yourself someone else will have to do it.
Most people will want to use very capable tools like GIMP, Photoshop or at least a GUI based tool to manipulate images. However, if you are interested in photography, you will be dealing with a lot of pictures, and learning how to deal with command line tools will help you. Imagemagick is one of the standard UNIX tools to do this.
The basic format is actually just the following:
convert -resize 1280x1280 original.jpg scaled.jpg
The cool part is, the 1280x1280 part tells you to fit your picture into a box that is 1280 pixels wide and 1280 pixels high. The aspect ratio of your picture will be preserved. If you had landscape orientation, your picture will be 1280 pixels wide, if you had portrait orientation your picture will be 1280 pixels high but retain its shape.
Even better, the second filename extension (in this case .jpg) tells you what format to convert to.
Imagemagick accepts tons of additional parameters that can manipulate the image. For resizing, you have essentially three versions -resize, -scale, and -sample. The last one is a bit special but the first two are for the most part quite similar. A longer description can be found on the legacy Imagemagick page on ImageMagick v6 Examples -- Resize or Scaling (General Techniques) has more comprehensive information on differences.
If you have a bit of time, take a look at: ImageMagick v6 Examples -- Resize or Scaling (General Techniques) on a quite detailed discussion on various aspects of resizing.
Some of things to keep in mind
- Most of the media where you will use an image will not be able to make use of the resolution of your original image. This is certainly the case for www and social media, presentations, and documents as well as most print and posters. If you use the original image for these, programs will resize the image automatically as they see fit you will not have control over this process. So do not leave the resizing job to someone else.
- There are many tricks in scaling so that the new image looks good. Unfortunately there is no magic formula, this is why a program like Imagemagick has many options to steer this process. For the most part the simplest options will be sufficient, still there is so much you can do with an operation as simple as resizing you would be surprised.
- Be careful scaling computer generated images, especially graphs, plots and drawings that have very fine drawings. Usually a filter is required so that when they are resized, thin lines do not disappear.
- Cropping is also a tool that will reduce the size, but in most cases, you will still have to resize the image before using.
- Since most of your images will be resized, the sharpness of your original image is not as critical as you think. Just like cropping can be used to re interpret the framing, resizing can help with sharpness to a certain degree.
- A resized image will be much much smaller on disk and can be transferred faster over the network. You will save disk space and bandwidth borh for you and the people that access your pictures, documents, presentations online.
- Unlike movies, it is not possible to extract information that is not there from images. Computers will be able to interpolate and guess what is in between, but if you do not have enough pixels stored to interpret a license plate, well that's it. However, there is a lot of information in shading, reflections as well as additional information (like all Swiss number plates start with a two letter acronym to designate the canton and up to 6 digits) that could be used to extract more information than you can directly see from the image. Sorry.
Most of the media you use for your pictures can not make use of the high resolution. So if you do not prepare your images for the media properly, they will have to do it for you. And when you do the results may not be as good as you think.
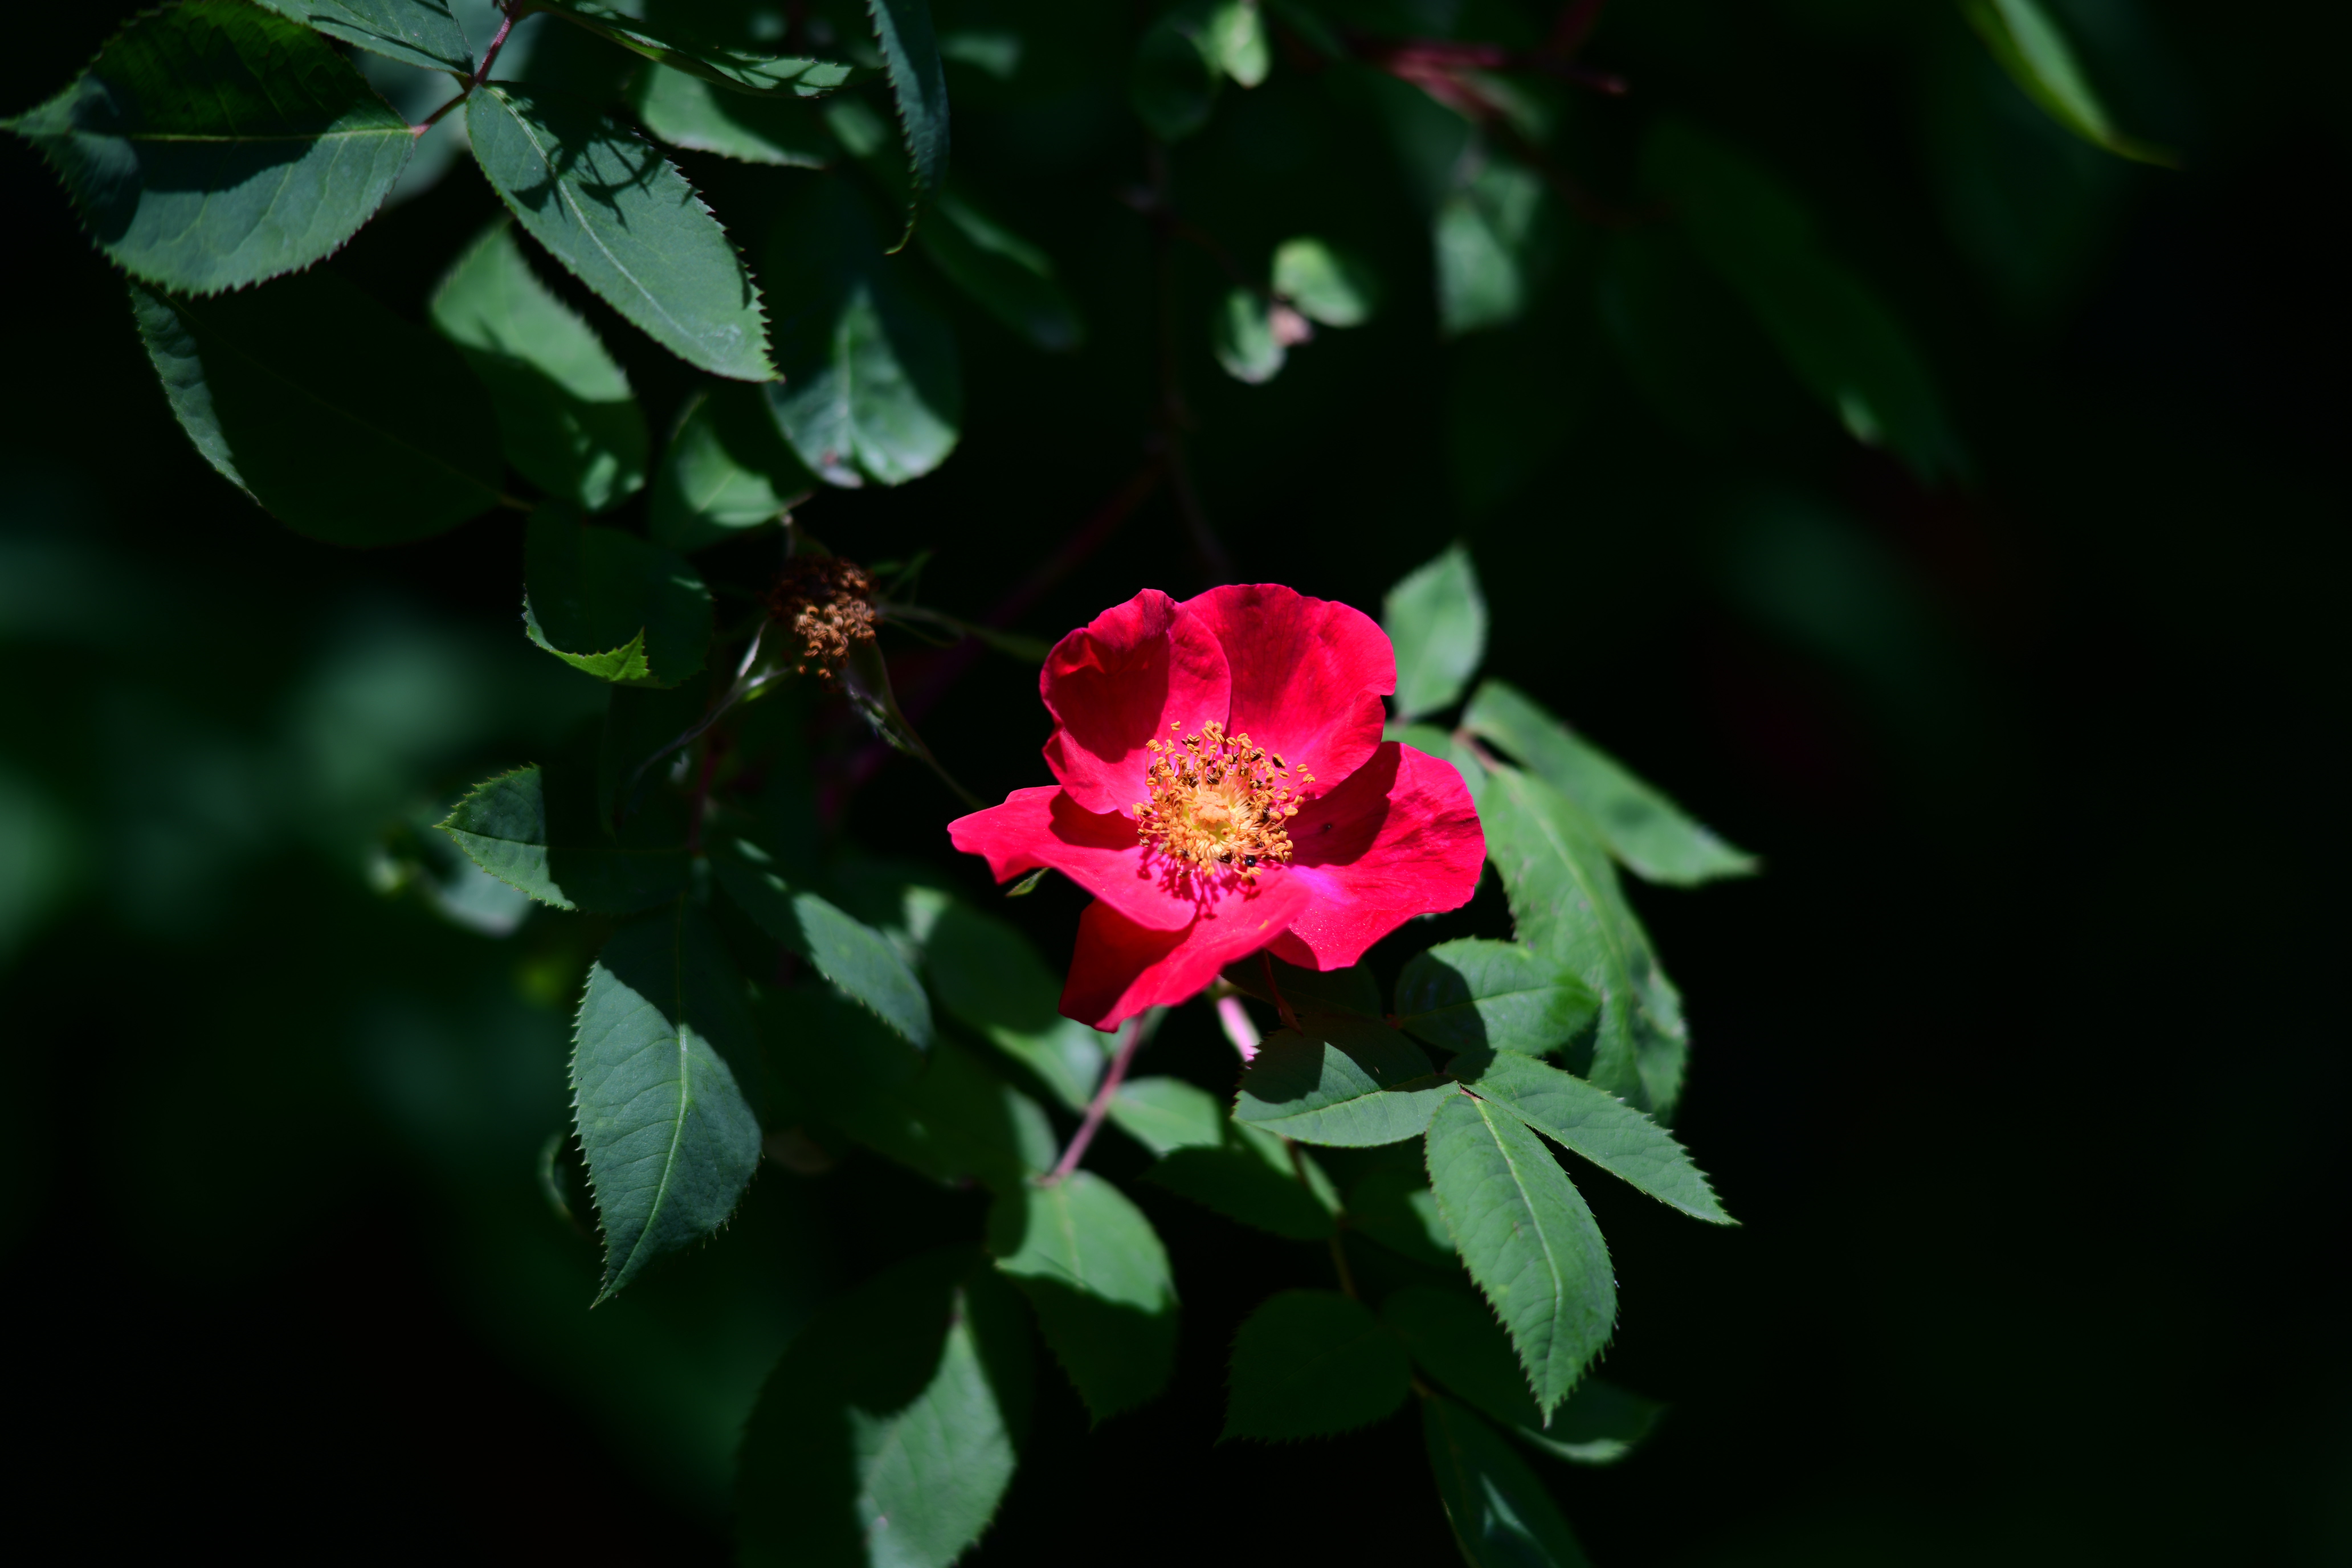
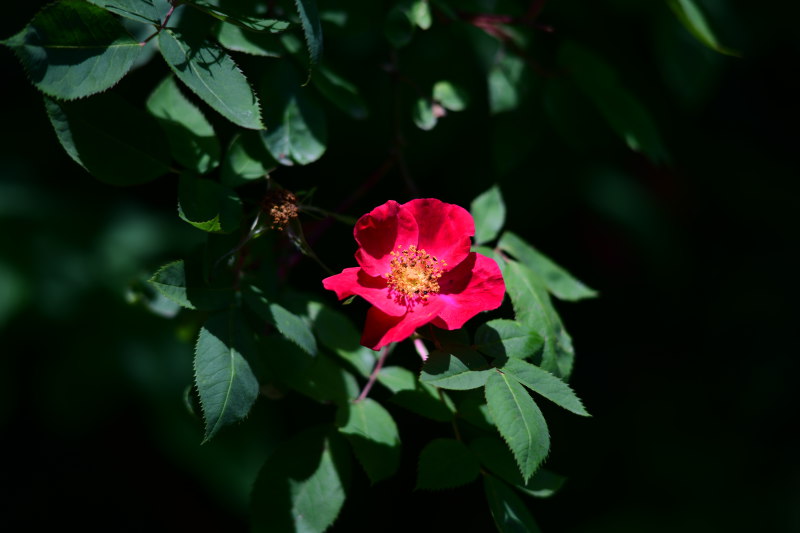
Here is a fun little experiment. Below you see the same image twice. One is dynamically adjusted to the size of the column, the other one is at a fixed resolution. If your browser allows it try scaling the window so that the two images are the same size.
Which one looks better for you? In some cases they look exactly the same, and in some cases the bottom one looks better. I actually could not get the top one to look better.
The top image is an original 45 Megapixel image. But for performance reasons, your computer will probably use a few shortcuts while dynamically resizing the image which can explain why it does not always look better than the one below which has been scaled in advance. But the above picture is 15 times larger, and will require your computer extra work to download and to resize for no apparent reason.
Note that all pictures on this www page are already resized to 1280x1280, and the Mediawiki also uses a dynamic scaling function that lets your browser do all the dirty work (not nice of me) and adjust the size according to the size of your browser window. Try resizing the window to see.
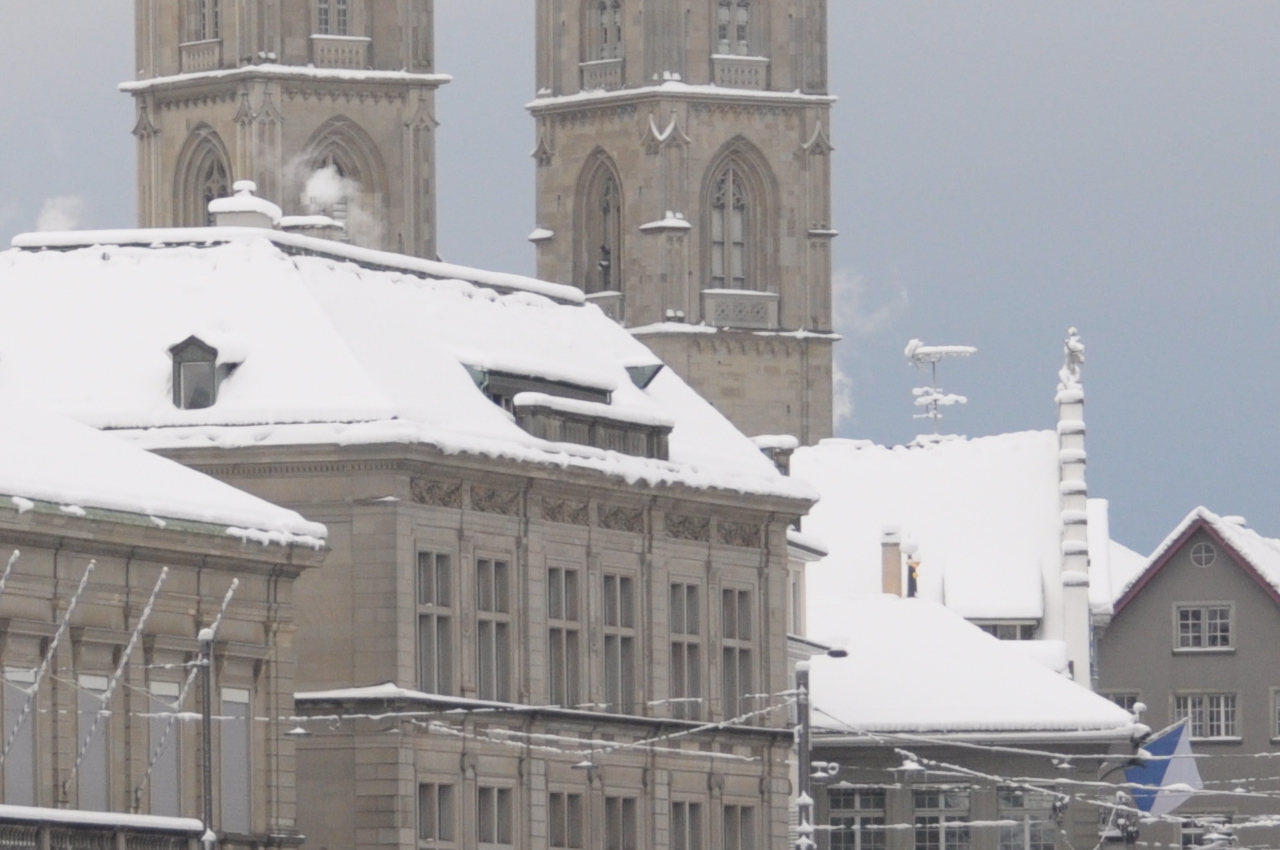
But let's just get some facts straight. This is the original sized image taken by a Nikon D90 at 4288x2848 pixels it is a shade over 12 Megapixels, and stored as a JPEG picture occupies 3.4 MBytes on disk.
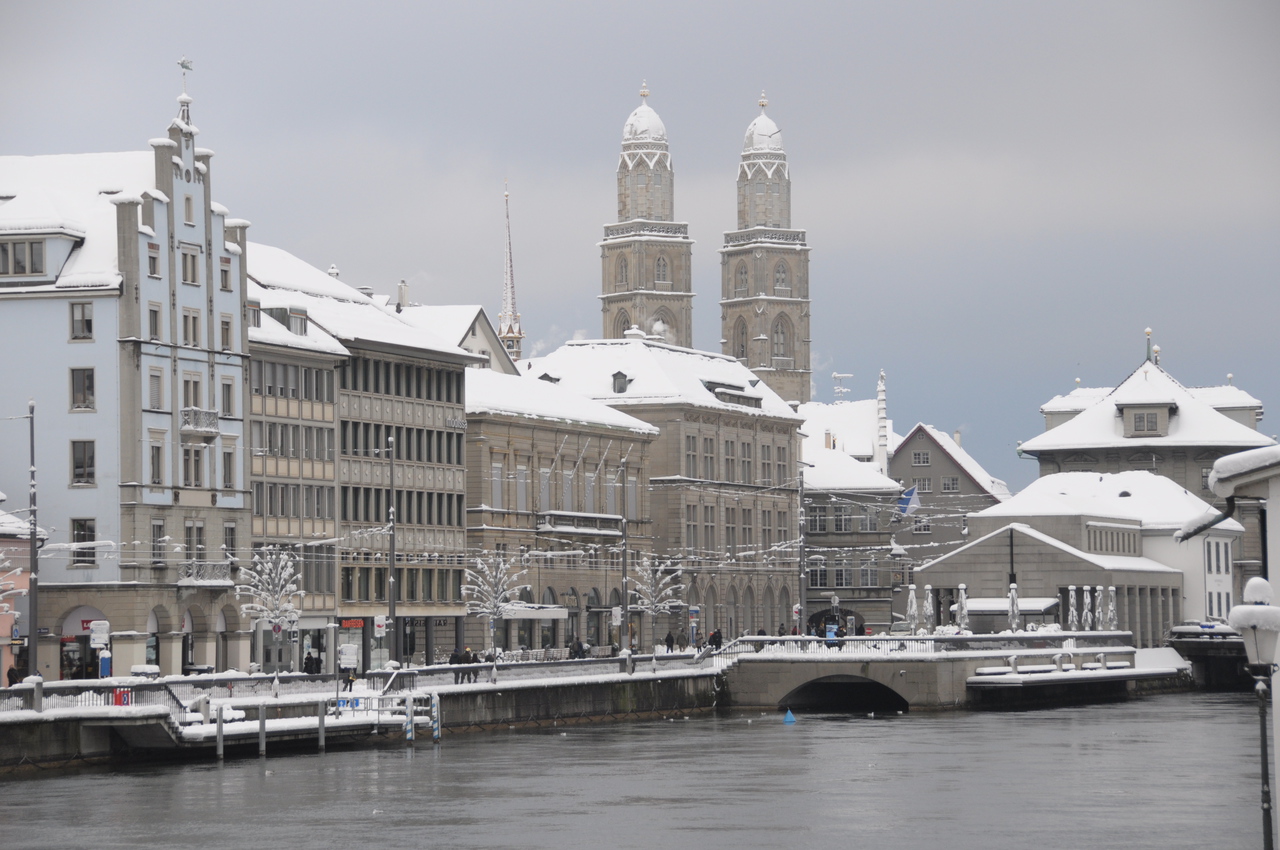
The version that is uploaded and you see above is resized to 1280x850 using the imagemagick command I described earlier. It is much smaller and occupies only 492 kbytes on disk. This is also the data that will be downloaded when you view this www page. The resize that I did saved you about 3 Mbytes, you are welcome.
The following is a crop of exactly the same size 1280x850, to give you an idea about how much smaller the resized version is. If you see this picture at 1280x850 pixels, you will actually see 1:1 the same pixels that the digital camera took (well almost). Note that, the Tweeki style I use has 2 columns for larger screens, so your screen has to have around 3000 pixels width and the web browser has to span (almost) the entire screen. Not saying this is not possible, but 1280x850 is actually a pretty decent resolution for a picture that is not supposed to cover the entire screen.
Of course resizing will make your image worse. After a while there will simply not be enough pixels in the picture. So how much worse did I make this picture? here is the original resized image, resized back to the original size (re-resize if you will).
convert -resize 4288x2848 resized.jpg sized_back.jpg
To make the difference clear I layered on top of the original. To see 1:1 pixels, I also have cropped a 1280x850 area from the original image. Note that I have used PNG as a file format here in order not to add compression artefacts for the sake of comparison.
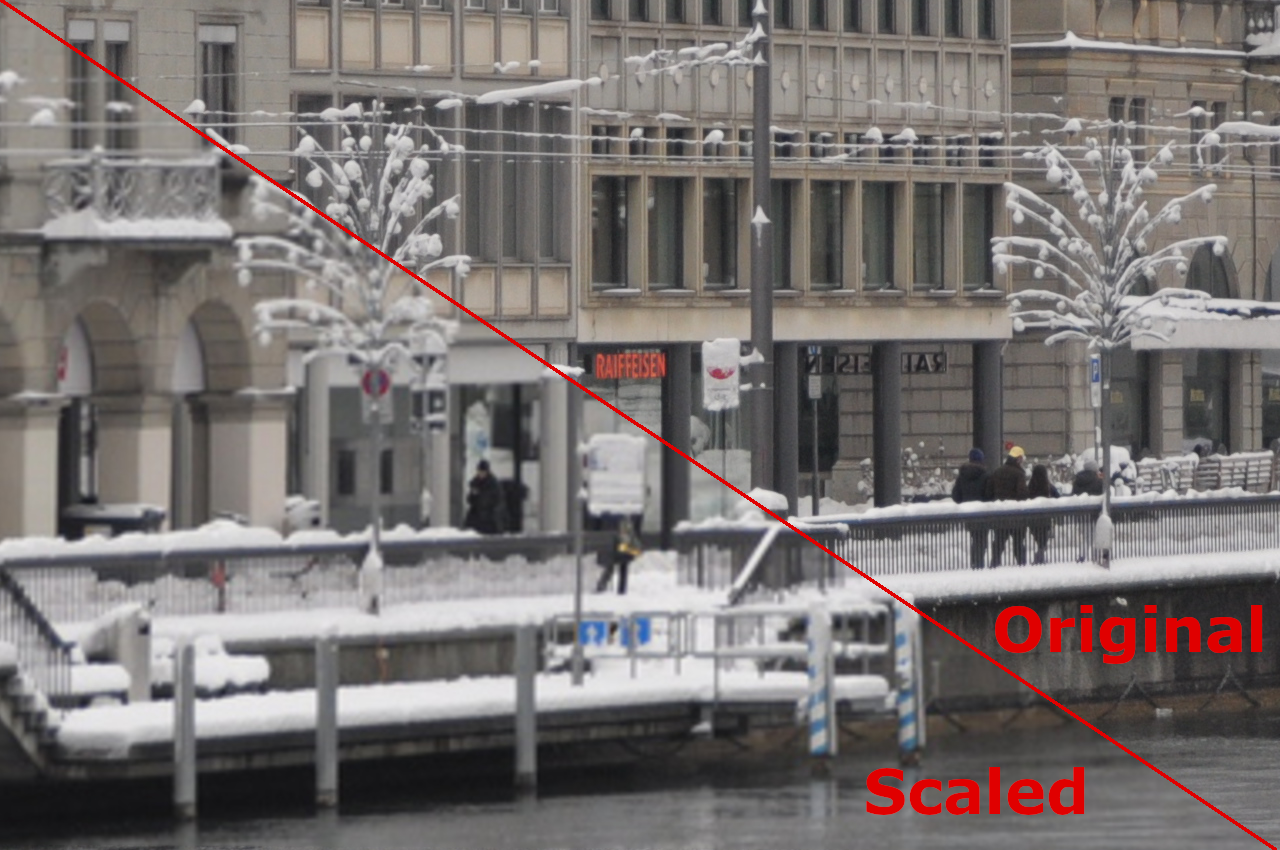
It is not that bad is it, of course the scaling has taken quite a bit of information out, but the picture is actually quite OK.
Now one argument you will have is that the original image is not sharp enough otherwise the difference would be more visible. I admit it could be sharper, still this is a decent shot, one that you are maybe not extremely proud, but one that is entirely passable, at least for me a more representative picture. But here is the real question:
Will you be using the scaled version or the original version?
The sharpness of the original is not really that important if you can not make use of this resolution. And unless you are blowing the image up to at least to an A1 sized poster, or analyzing it on a high resolution screen, you will use the scaled version, and this is the one that has to be sharp enough.
Of course if you drive this to the extreme, you will definitely see where, and how the picture loses quality.
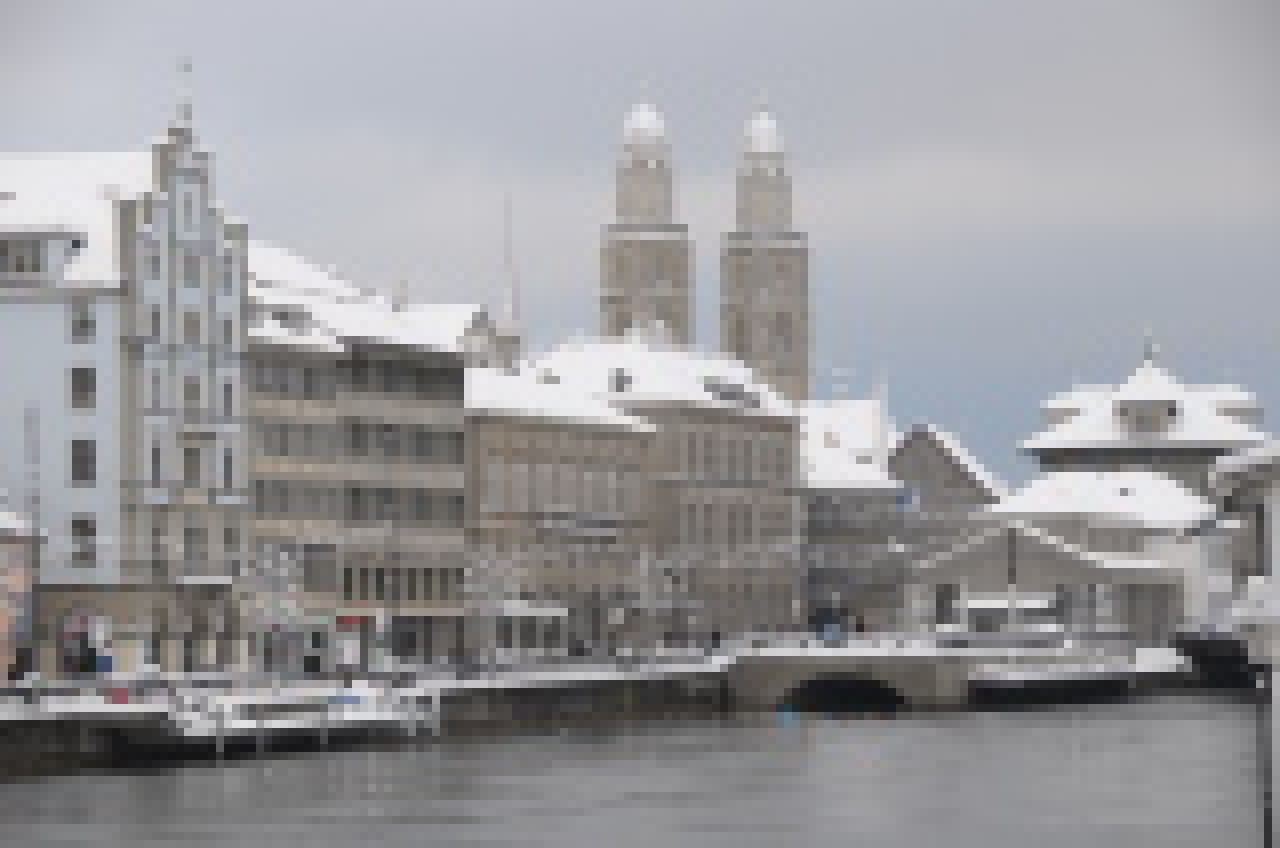
I have resized the picture to 160x160 using
convert -resize 160x160 original.jpg tiny.jpg
I blew up this image 8x times to make the pixellation clearer. This time I will use sample which will just replicate the pixels for scaling. If you go from 160x160 to 1280x1280, every pixel in the original image will become a 8x8 pixel block allowing you to see these clearly.
convert -sample 1280x1280 tiny.jpg sample.png
As explained at the top, the page dynamically scales the images, so depending on the size of your display and browser you will be seeing a different sized image. Click on the images to see them more properly.
These pages are for Amateur Photographers and not really for seasoned photographers and professionals. I have no affiliation or commercial interest with any brand/make. I write from my own experience. I ended up using mainly Nikon, so I am more familiar with this brand than others. See price for notes on pricing as well as photography related links.
