Exposure
Giving your camera time to capture the image
Your camera will collect light coming from your subject. To have a properly bright image, you will need some time. This time depends on the sensitivity of your sensor/film, the aperture of your lens and available light in the environment.
One of the most basics settings of a camera is to determine how long the sensor/film will be exposed to the image. In a modern camera, there is a shutter that opens for a short while allowing the sensor/film capture the image and then closes, blocking additional light to reach the sensor. Typically this happens very fast maybe in a fraction of a second (literally the blink of an eye), and expressed in seconds such as 1/100s. Most cameras omit the 1/ part and just write 100 as the exposure time. So technically the higher the number, the less you expose the image, which is very confusing.
There are also cases where the exposure time is more than a second (astrophotography for example), and for these long exposure shots, camera manufacturers had to come up with a solution how to write it (when you say 5 is it 5s or 1/5s ??) to cover up their laziness in writing only the divisor for exposure time. They add " for seconds. This means an exposure of 5 is technically 1/5s and 5" is 5s.
Humans can not detect and react to changes much below 50ms, that is 1/20s. This is also how movies work, if you show 25 pictures one after another within one second, humans will not notice that they are seeing 25 individual pictures but will see this as continuous action.
This also effects photography, as anything moving rapidly and exposed faster than 1/20s will not look the same as you see it. Typical examples are propellers and waterfalls (see more below). Exposing something slower makes things blur, basically the object moves across the frame while you are trying to capture it. This can be used as an effect, you can freeze individual droplets from the tap in the air, or you can have a smooth dreamlike flow of water. However, changing the exposure time affects the brightness. If you expose 10x longer, you get 10x more light and somehow you need to compensate for that. You can play with aperture, ISO or add a filter to your lens.
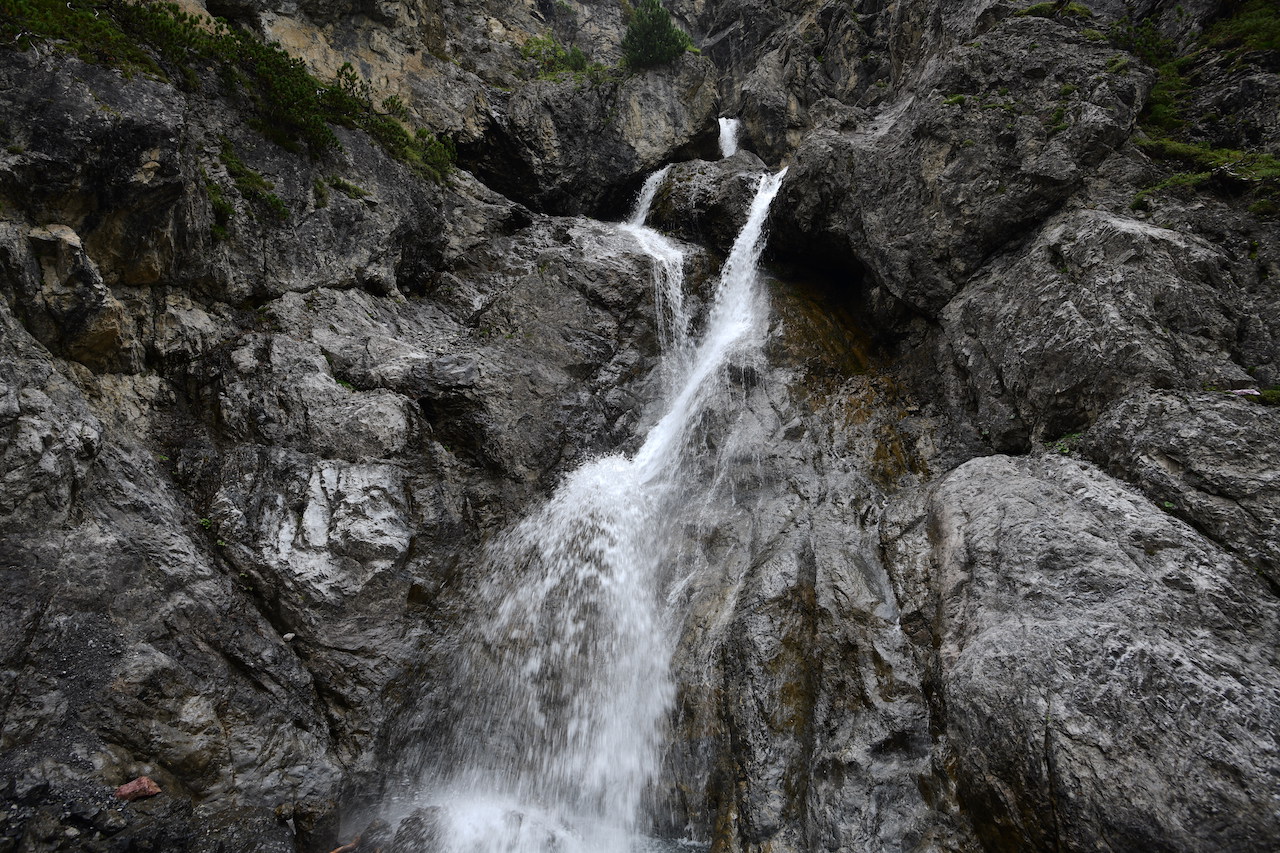
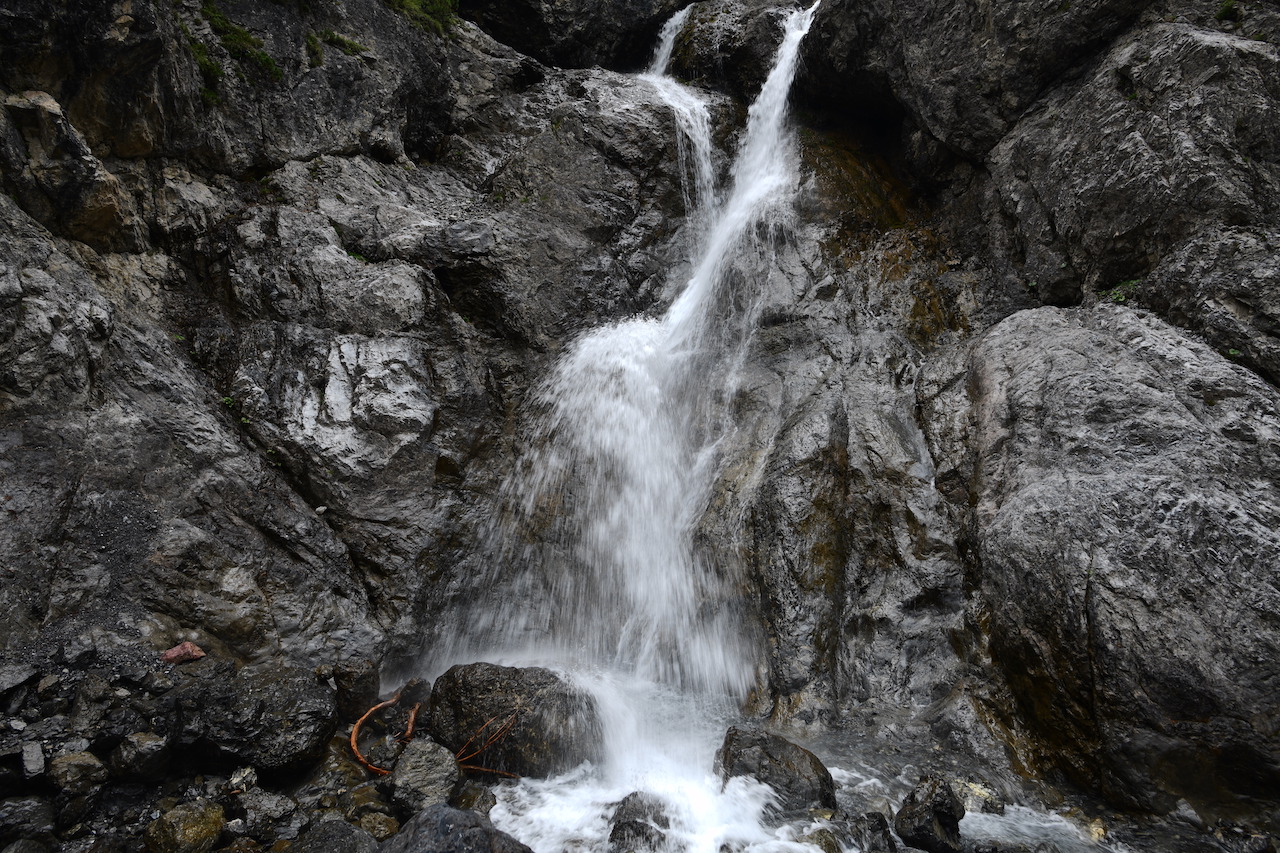
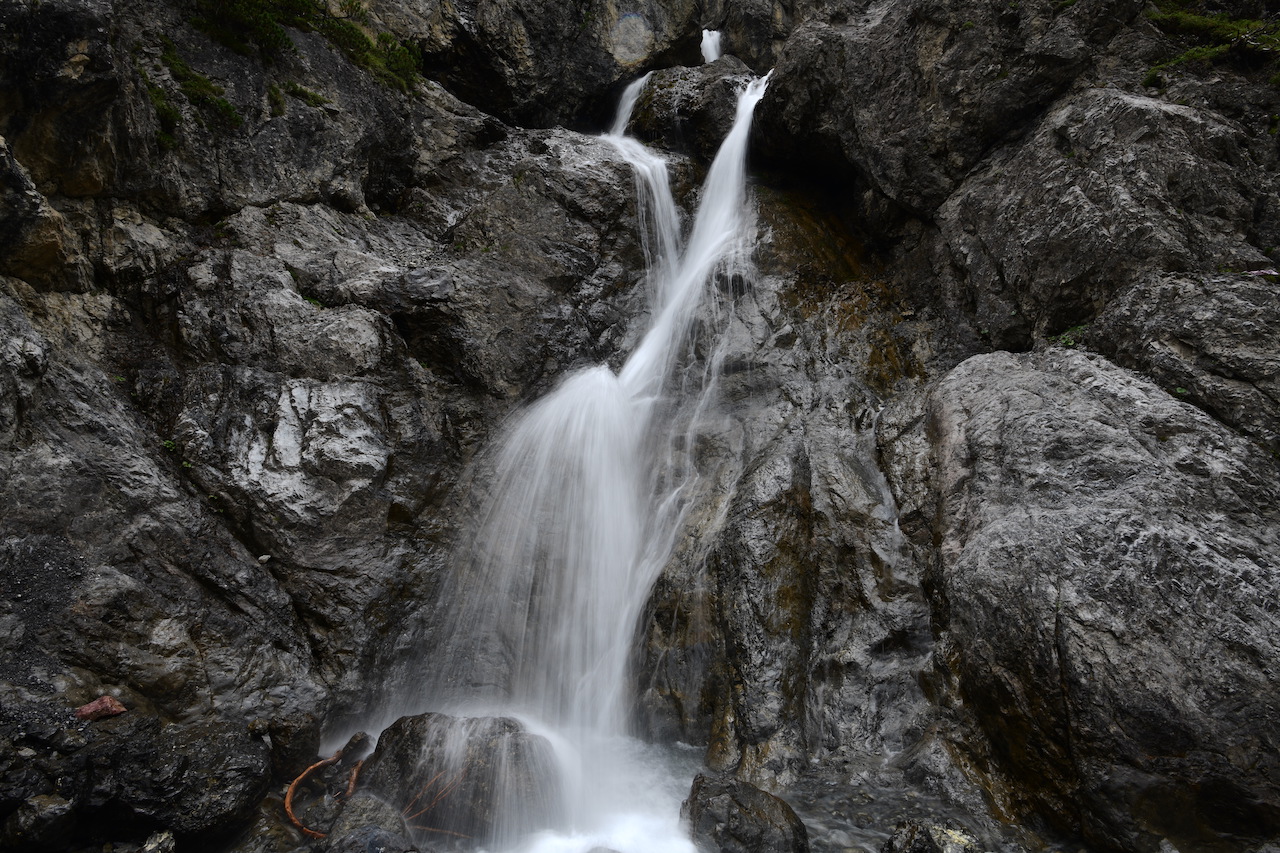
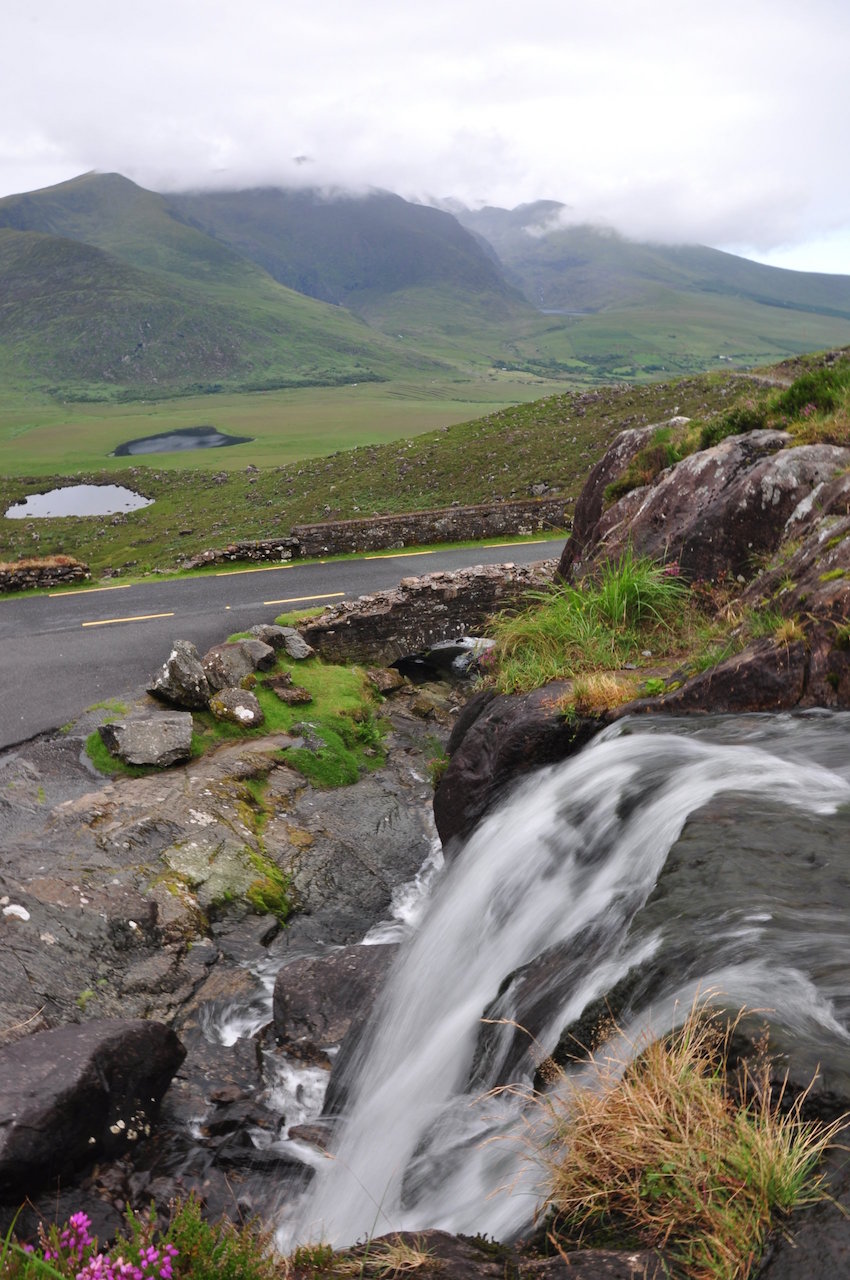
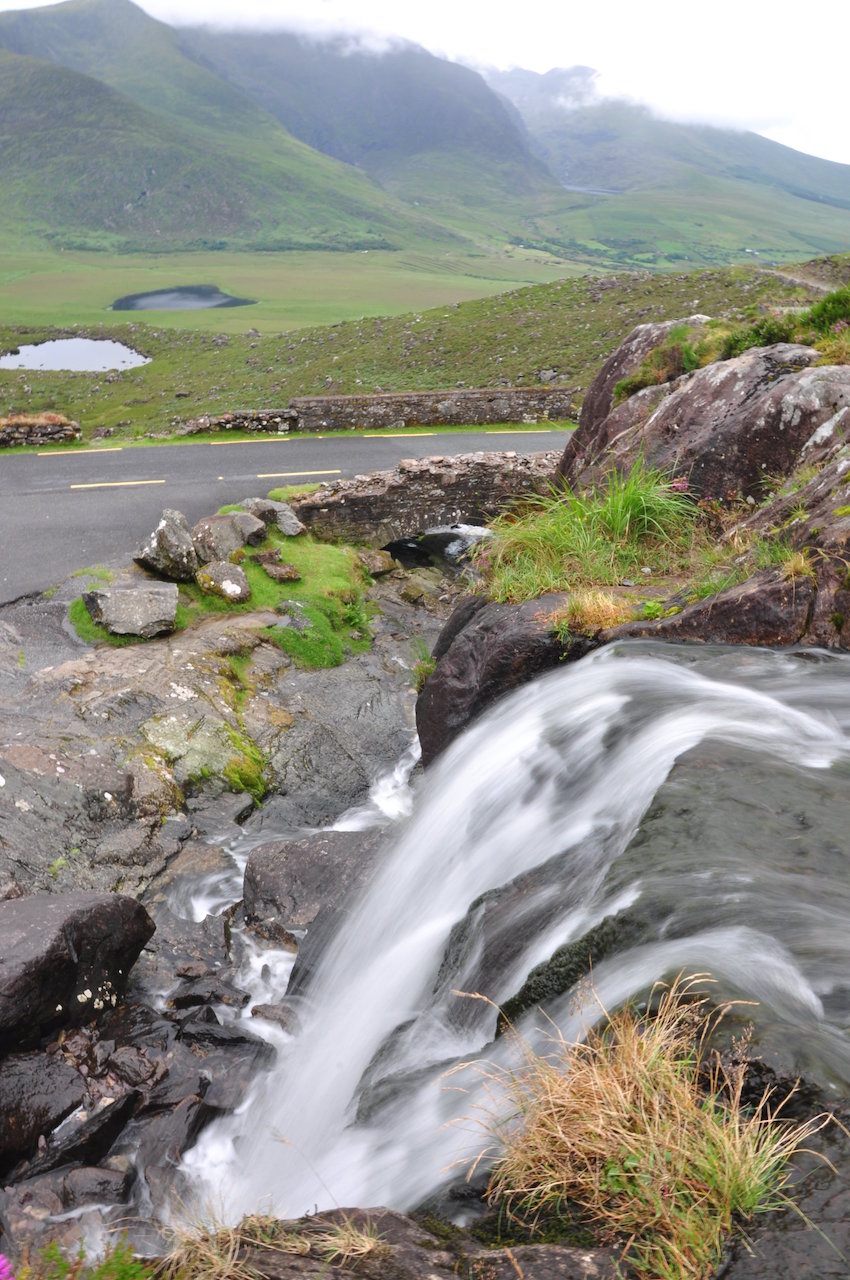
Good example to see the effects of exposure time. If you want to capture something that looks like what you see, you should try to go for an exposure 1/20s to 1/50s range. If you go any faster, you will realize that you see individual droplets suspend in the air. By going even slower, you can blur the motion of the waterfall, making it more dreamlike. But such long exposure shots are a bit tricky. Waterfalls usually can be managed by placing the camera on a solid surface, or a tripod. But you need to be careful about the wind (and tourists walking in and out of the frame).
This is one of the examples where you want more control over your camera. A speed priority shooting mode setting can be used to fix the exposure time and let the camera adjust everything else.
The European waterfalls www page has very good tricks on photographing waterfalls. I can tell you from experience that their suggestions are right on spot. Especially for larger waterfalls, you need to go 1/500s or even higher. It adds more dynamic.
Waterfall near Davos, Switzerland
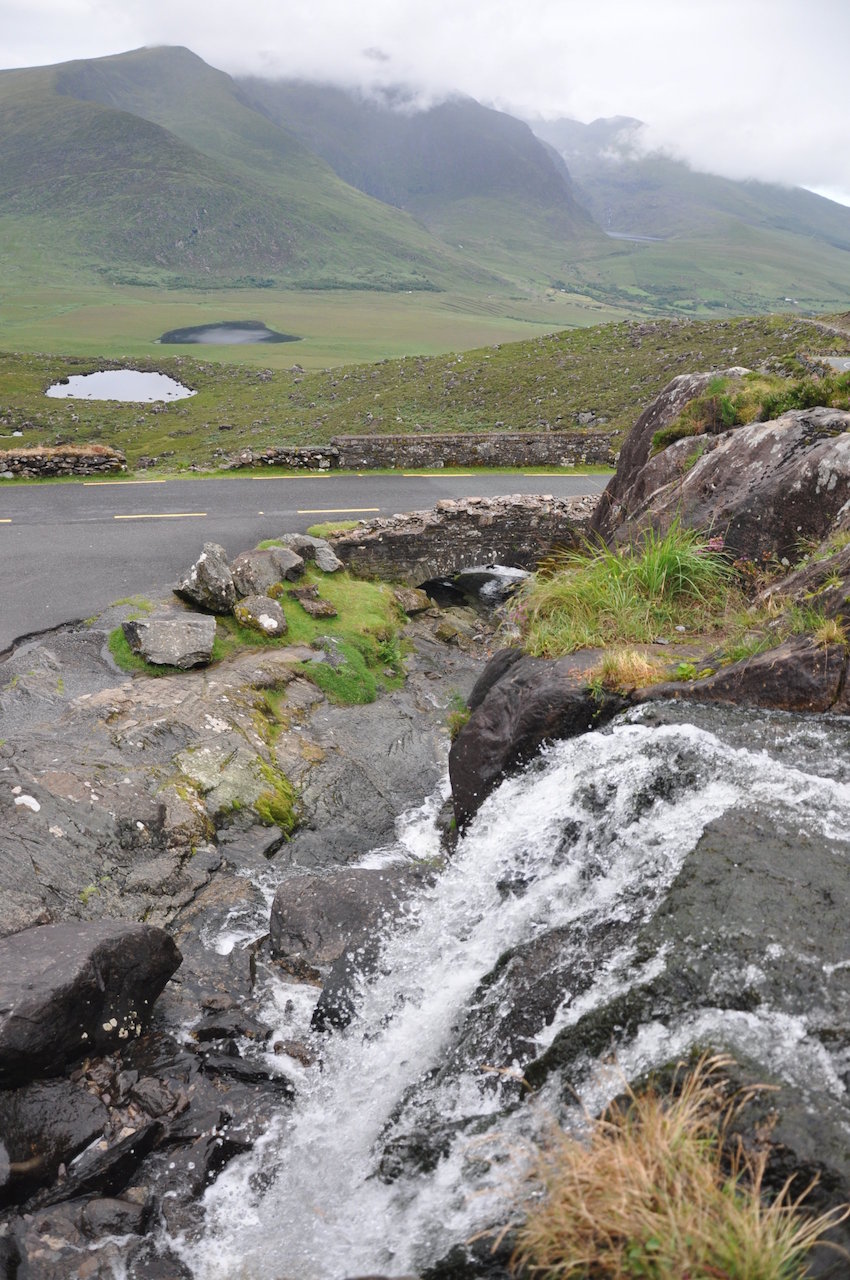
Waterfall at the Connor pass in Dingle, Ireland
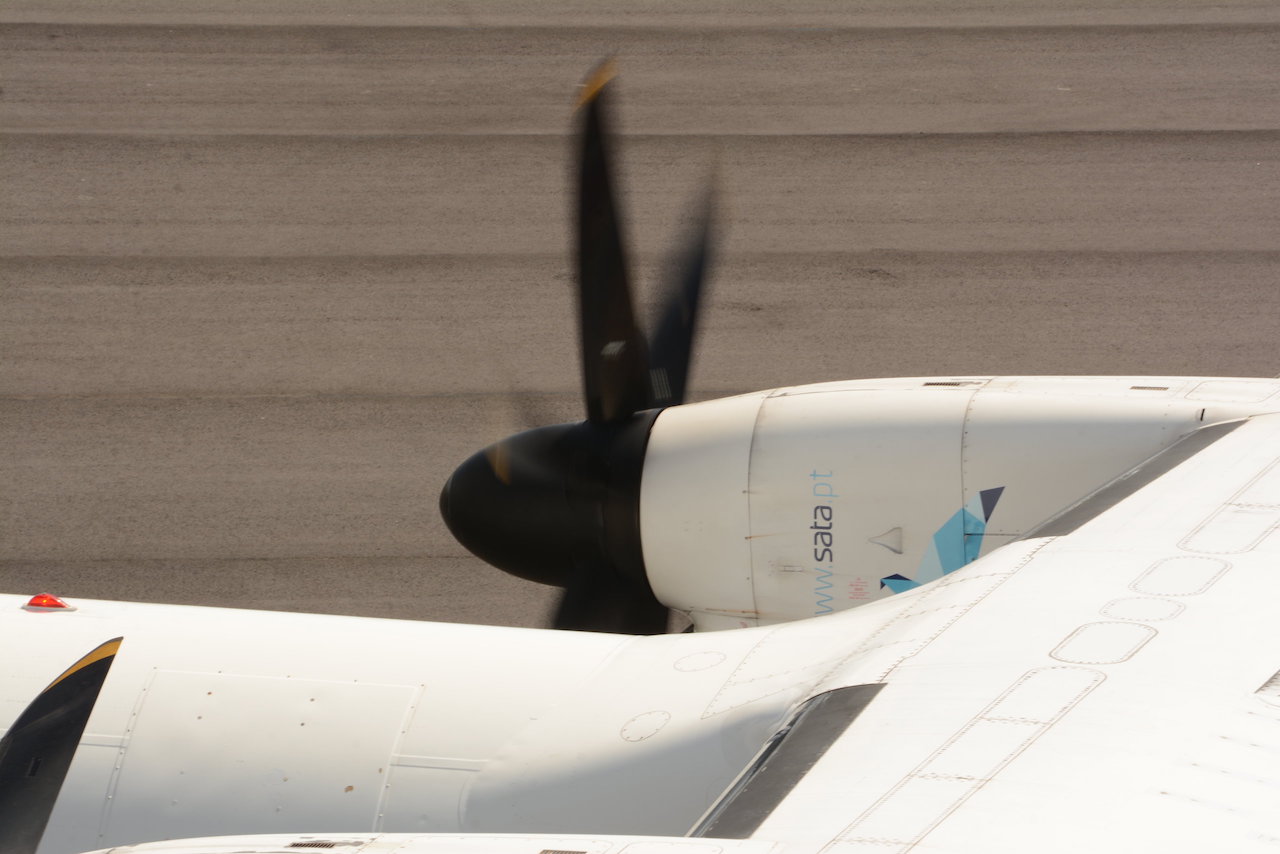
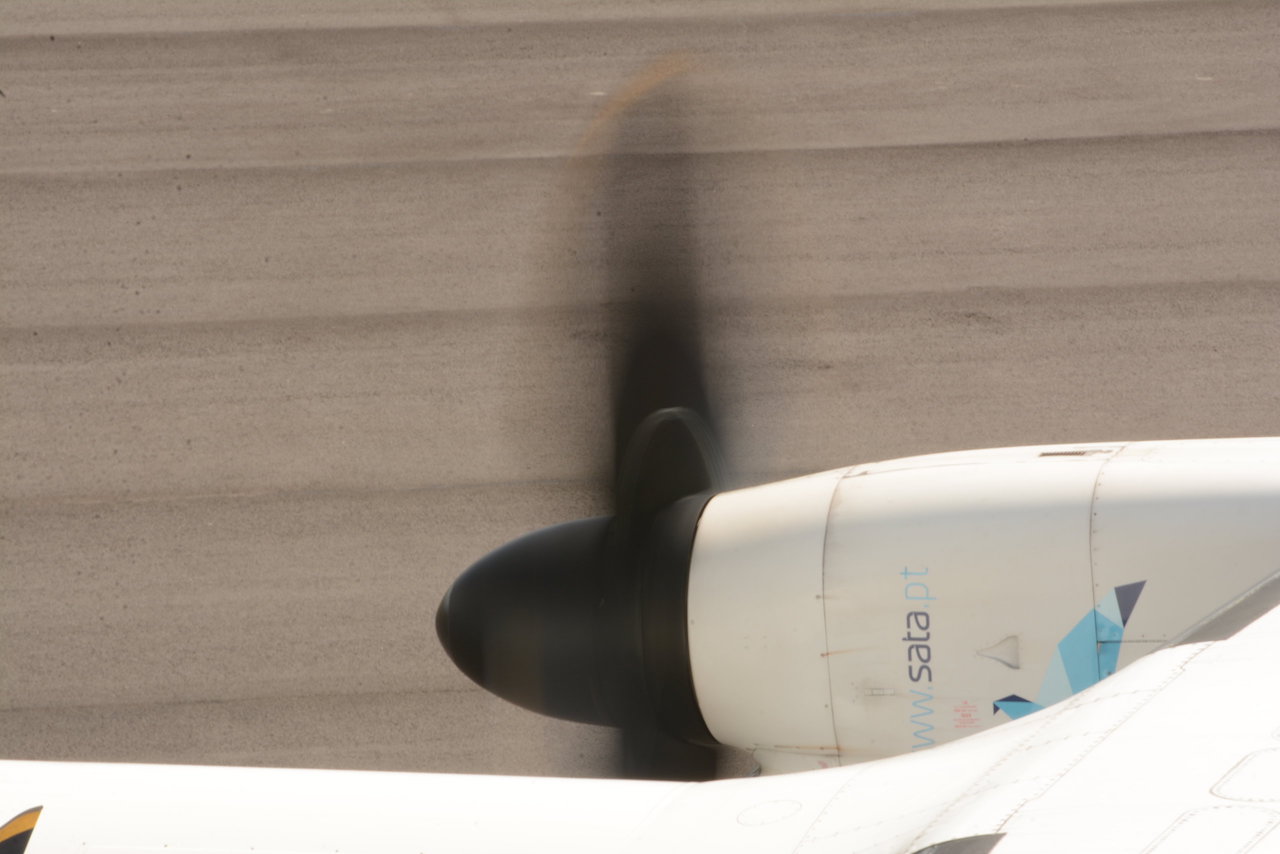
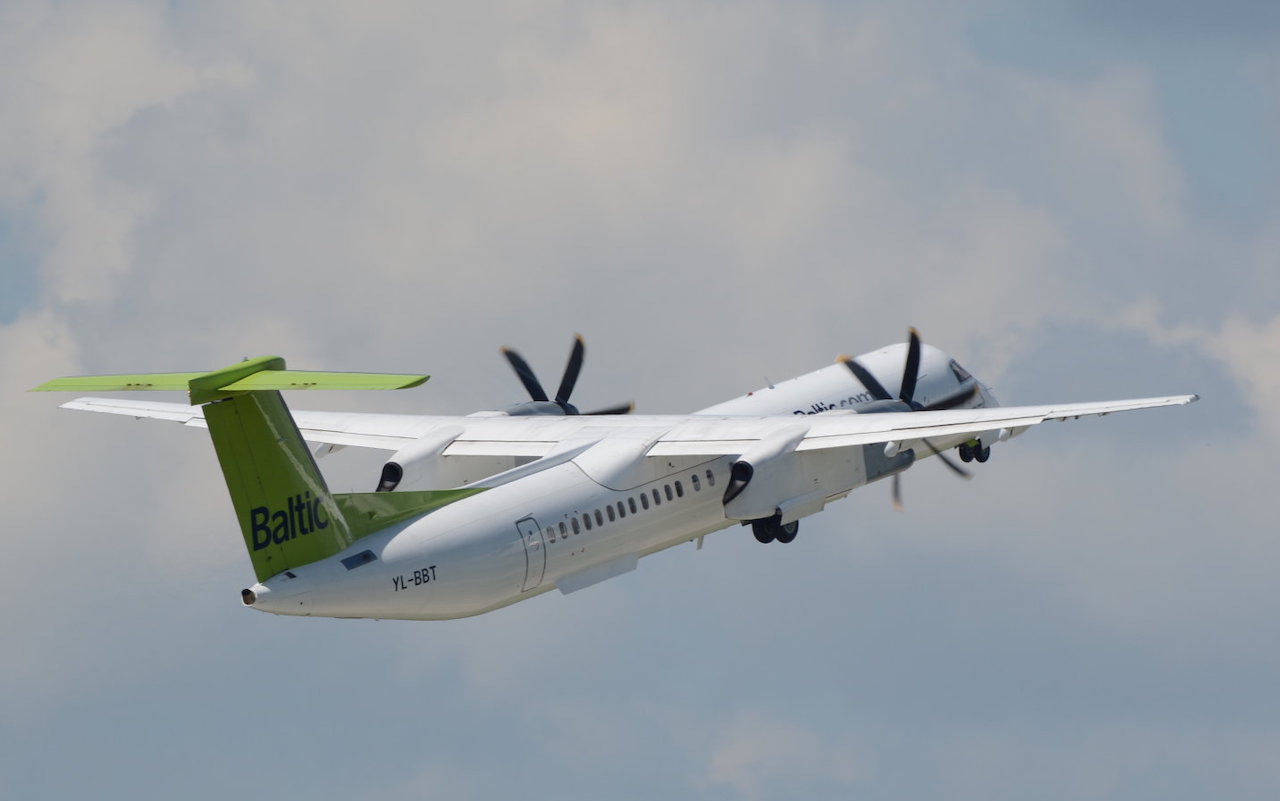
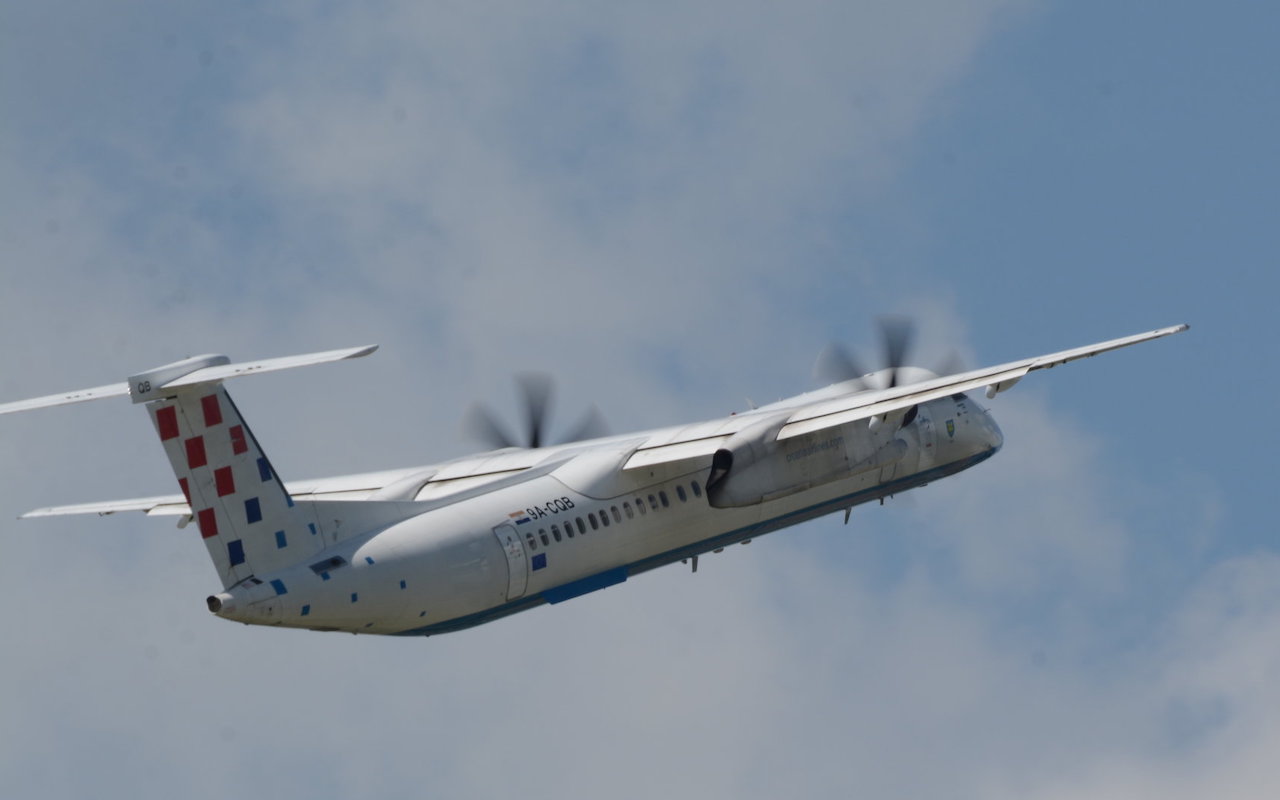
Another good example for exposure time are propellers of planes and helicopters. They usually spin around 2'000-3'000 RPMs, meaning that a propeller blade finishes a rotation in about 1/50 seconds. Your eyes actually never see individual propeller blade when they rotate at that speed, and to achieve that technically 1/20s to 1/50s is also sufficient. However, usually planes/helicopters move (unlike waterfalls that remain nicely in place), and usually we need longer focal length to capture them, making it more challenging to reach these exposure times. Fortunately, the rotation speed is high enough so that you can get away with shorter exposure times, and the movement of a plane is rather predictable so you can (with a bit of practice) compensate for the movement as well.
These pages are for Amateur Photographers and not really for seasoned photographers and professionals. I have no affiliation or commercial interest with any brand/make. I write from my own experience. I ended up using mainly Nikon, so I am more familiar with this brand than others. See price for notes on pricing as well as photography related links.
