ISO: Difference between revisions
No edit summary |
No edit summary |
||
| Line 51: | Line 51: | ||
* <kbd>ISO 3200</kbd>, <kbd>f/3</kbd>, <kbd>1/400s</kbd>, a very high ISO setting for this camera, visibly problematic | * <kbd>ISO 3200</kbd>, <kbd>f/3</kbd>, <kbd>1/400s</kbd>, a very high ISO setting for this camera, visibly problematic | ||
I | Using [[Imagemagick]] I [[cropping|cropped]] and then magnified two portions of the image one which shows the noise issues very clearly and one from a well lit area that does not suffer so much from noise degradation. I also scaled the images from 12 [[Megapixels]] to an image 800 pixels wide. | ||
<div class="flex-row row"> | <div class="flex-row row"> | ||
| Line 155: | Line 155: | ||
</div> | </div> | ||
{{Photodisclaimer}} | {{Photodisclaimer}} | ||
Revision as of 18:13, 23 November 2020
Light sensitivity of film/camera
ISO is for me the most important factor where digital photography is different than analog. It gives you another knob to play with in addition to shutter speed and aperture of a standard camera.
ISO actually comes from the International Standard Organization, and refers to one of the many standards they defined to determine how sensitive the film was to light. The higher the ISO the more sensitive the photographic film was. For analog machines, you changed ISO by buying different film which had different light sensitivity.
Digital cameras use the same measure, however, now you refer to how good the sensors are in capturing the light. In many cases the sensor in a digital camera can be tuned to spend more time capturing light (making it more precise but slower) or work faster (but be less precise and grainy).
The difference is that, in digital photography you can change and adjust the ISO setting anytime you want over a very large range.
Great thing about ISO in a digital camera is that it can be used to speed up the system and allow smaller apertures or faster shutter speeds. The price you pay is a loss in quality. All the settings below result in the same amount of light being captured by the camera, in other words, the picture would be just as bright in each setting.
| ISO | Aperture | Shutter Speed | Notes |
|---|---|---|---|
| 100 | f/2.8 | 1/100s | Baseline |
| 200 | f/4.0 | 1/100s | √2 (1.4x) smaller aperture |
| 400 | f/5.6 | 1/100s | 2x smaller aperture |
| 800 | f/8.0 | 1/100s | 2√2 (2.8x) smaller aperture |
| 800 | f/2.8 | 1/800s | 8x faster shutter |
| 800 | f/5.6 | 1/200s | 2x smaller aperture and 2x faster shutter |
A change of ISO 100 to ISO 800 barely makes a noticeable quality impact in most digital cameras.
High ISO, noisy image
There is no free lunch, the more you increase ISO the less time your sensor will have to collect light, and it will be more sensitive to noise. Fortunately, modern cameras have ridiculously good sensors and can operate over a large ISO range without you seeing problems unless you are really looking for it.
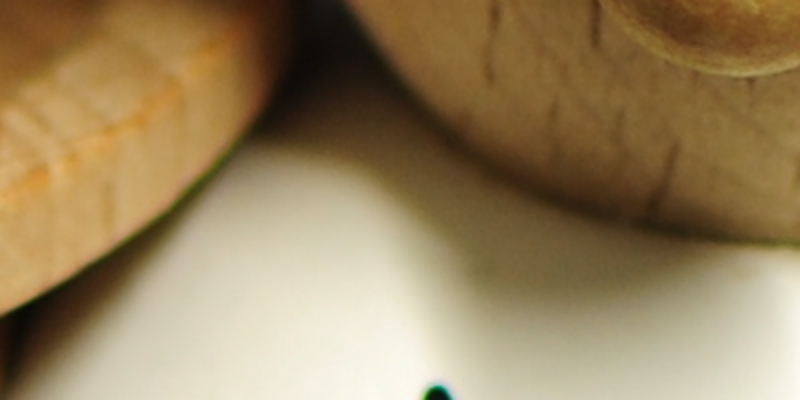
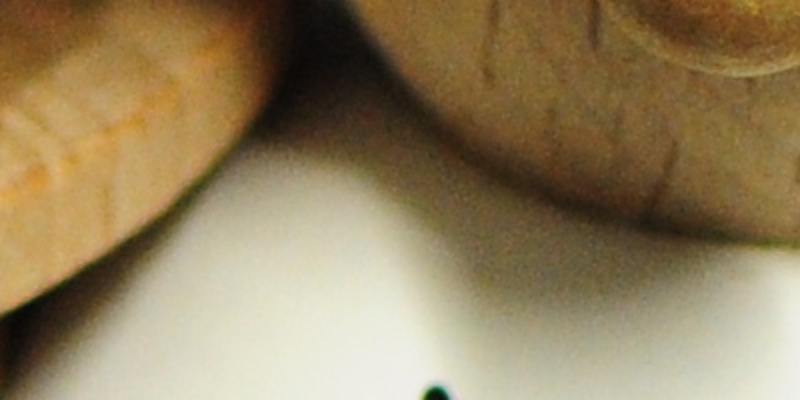
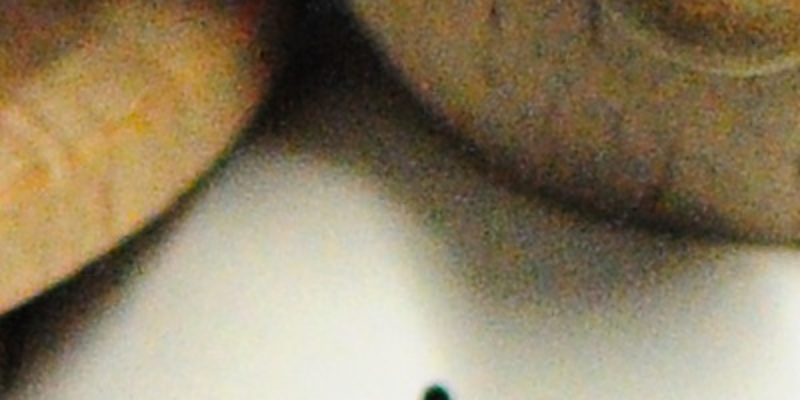
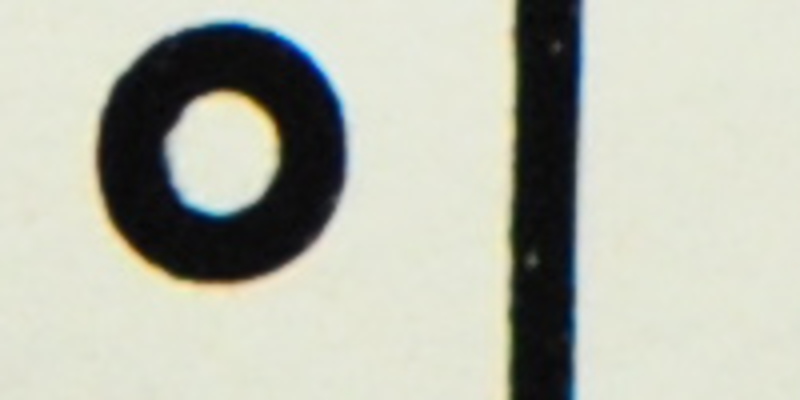
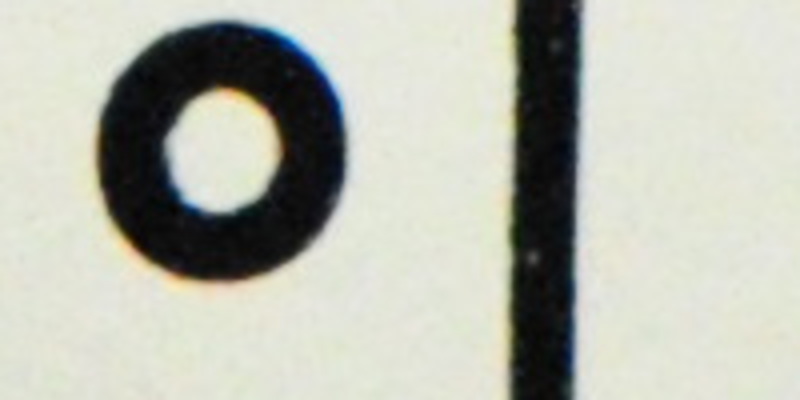
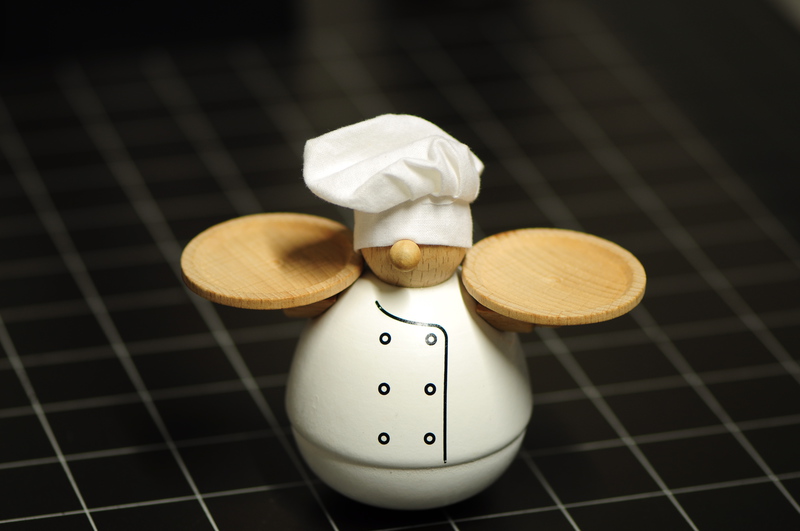
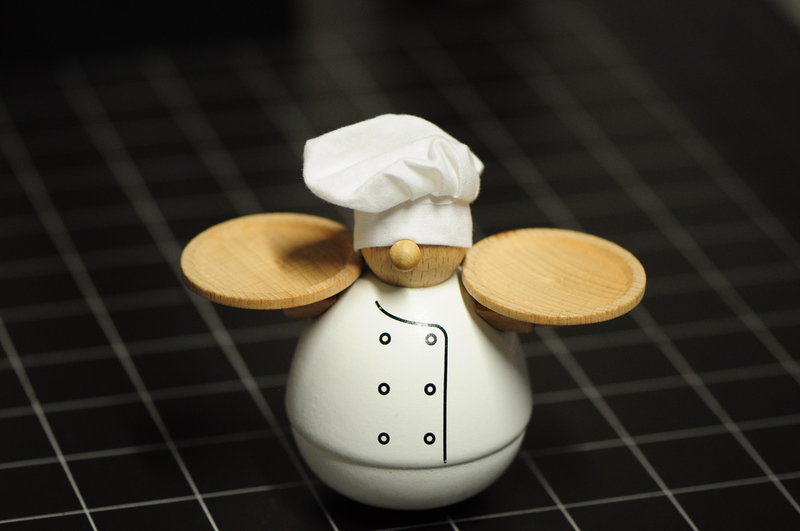
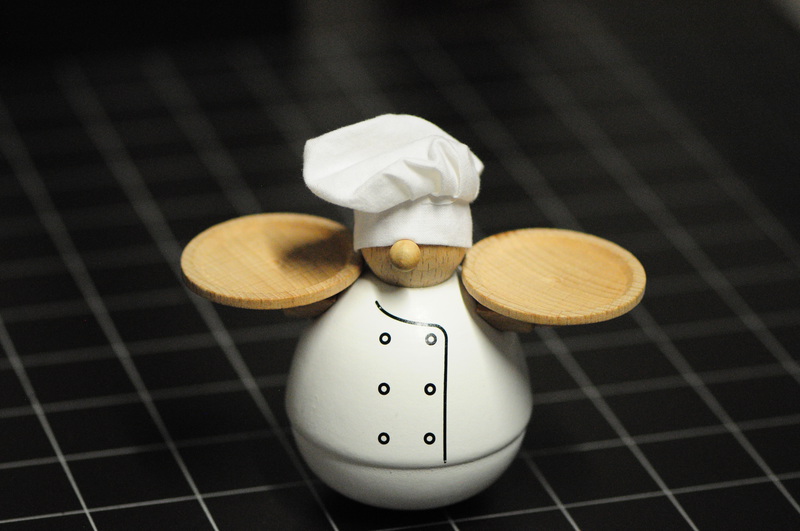
I provide three images taken using a tripod to get a somehow fair comparison with the least sensitive camera I have Nikon D90 and a Nikon 105 macro I had on the camera at the time. The images are:
- ISO 100, f/3, 1/13s, the best I can get out of the camera
- ISO 800, f/3, 1/100s, for me still a very acceptable noise level
- ISO 3200, f/3, 1/400s, a very high ISO setting for this camera, visibly problematic
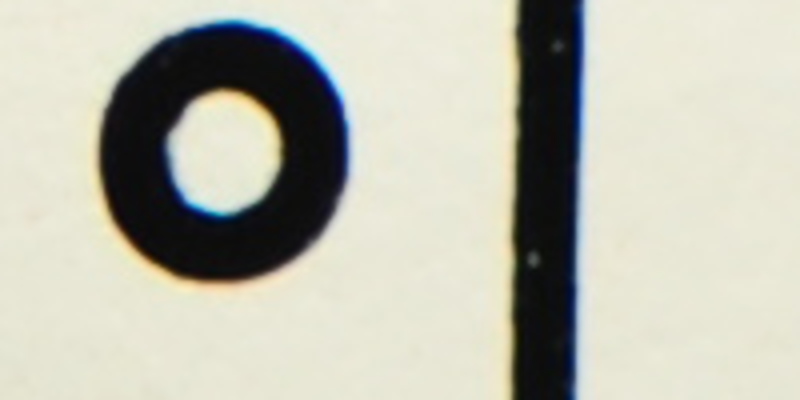
Using Imagemagick I cropped and then magnified two portions of the image one which shows the noise issues very clearly and one from a well lit area that does not suffer so much from noise degradation. I also scaled the images from 12 Megapixels to an image 800 pixels wide.
These pages are for Amateur Photographers and not really for seasoned photographers and professionals. I have no affiliation or commercial interest with any brand/make. I write from my own experience. I ended up using mainly Nikon, so I am more familiar with this brand than others. See price for notes on pricing as well as photography related links.
